sep . 04, 2024 04:28 Back to list
oem 3d fence panel install
Installing OEM 3D Fence Panels A Comprehensive Guide
When it comes to securing your property and enhancing its aesthetic appeal, installing a 3D fence panel can be an excellent choice. OEM 3D fence panels offer a modern solution that combines durability, style, and ease of installation. If you’re considering this option for your home or business, here’s a comprehensive guide to help you through the process.
Understanding 3D Fence Panels
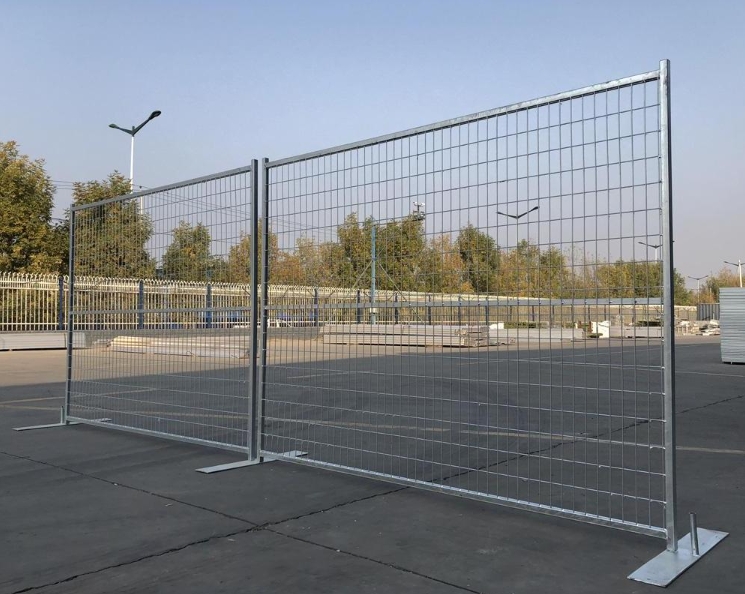
3D fence panels are characterized by their unique three-dimensional design, which not only provides enhanced privacy and security but also improves the visual appeal of your space. Made from high-quality materials such as steel or aluminum, these panels are resistant to weather, corrosion, and wear, ensuring a long-lasting investment.
Preparation for Installation
Before diving into the installation process, it's essential to plan and prepare adequately. Start by assessing the area where you intend to install the fence. Measure the length and determine the number of panels needed. Additionally, check local regulations concerning fencing to ensure compliance with any height or property line restrictions.
Gathering Tools and Materials
To install your OEM 3D fence panels efficiently, gather the necessary tools and materials. You will need
- 3D fence panels - Concrete mix or post anchors - Fence posts - A level - A measuring tape - A power drill - Screws and brackets - A saw
oem 3d fence panel install

Step-by-Step Installation Process
1. Mark Your Layout Use stakes and string to outline the intended fence line. This will help you visualize the installation and ensure that the panels are straight.
2. Install the Fence Posts Dig holes for the fence posts at the marked locations, ensuring they are deep enough to provide stability. Place the posts in the holes, level them, and pour concrete or use anchors to secure them.
3. Attach the 3D Fence Panels Once the posts are set, begin attaching the 3D panels. Start from one end and work your way down the line. Use screws and brackets for a secure fit, ensuring that each panel is level and aligned with the others.
4. Final Checks After all the panels are installed, take a moment to check the alignment and stability of the fence. Make any necessary adjustments before the concrete fully sets.
5. Clean Up Fill in any gaps around the posts with soil or gravel and clean up your workspace.
Conclusion
Installing OEM 3D fence panels is a manageable DIY project that can significantly enhance your property’s security and appearance. With the right preparation, tools, and a step-by-step approach, you can create a beautiful and functional fence that will serve you for years to come. Whether you’re looking to boost privacy or add a decorative element to your yard, 3D fence panels are a smart choice that combines style and substance.
-
Powder Coated Double Wire Mesh Fence- Anping County Shengxin Metal Products Co., Ltd|Durability, Customization, Eco-Friendly
NewsAug.05,2025
-
Powder Coated Double Wire Mesh Fence-Anping County Shengxin Metal Products|Durability&Customization
NewsAug.05,2025
-
Powder Coated Double Wire Mesh Fence Germany Market - Anping
NewsAug.05,2025
-
Durable Chain Link Temporary Fence | Quick Setup & Security
NewsAug.05,2025
-
Coated Galvanized Steel Wire Mesh Fencing Panels | Durability & Protection
NewsAug.04,2025
-
Powder Coated Double Wire Mesh Fence-Anping County Shengxin Metal Products Co., Ltd
NewsAug.03,2025
